After sinking my first few hours into Grind Survivors, I kept dying around the same early waves, no matter which class or biome I picked. I tried “more damage”, I tried tanking with health, I even stubbornly stuck to my favorite weapons. None of it worked consistently.
The breakthrough came when I stopped thinking about damage first and started treating early-game like an economy puzzle: how fast can I safely collect XP and Ash without getting touched? Once I focused on pickup range, smart weapon choices, Forge upgrades, and cooldown reduction, my runs suddenly started reaching mid-game reliably.
This guide walks through the exact early-game survival priorities that made my runs go from “dead at 5 minutes” to “comfortably farming later waves”, all tested across classes and biomes.
Difficulty: Easy to Medium (mechanically) but punishing if you ignore these priorities.
Time to feel improvement: 2-3 focused runs.
You don’t need deep knowledge of every class or weapon to use this guide. What helps is adopting this mindset:
With that in place, here’s the step-by-step approach that made my early-game runs consistent.
Step → On your first several level-ups, take pickup range upgrades whenever they appear.
Action → Favor any perk that increases how far you can grab XP orbs and Ash.
Result → You level faster while staying safer, because you don’t have to walk into dangerous clusters just to collect XP.
This was the single biggest change in my early runs. Before that, I kept getting greedy, diving into thick enemy packs to scoop XP orbs and dying for a tiny bit of progress. With higher pickup range, XP comes to you while you kite and reposition.
Common mistake: Grabbing flat damage or max HP first “because it feels strong”. Without pickup range, you end up under-leveled and forced to push into enemy clumps later.
Step → Once your pickup range feels decent, start picking ricochet and piercing perks.
Action → Choose upgrades that let bullets hit more enemies or bounce between them.
Result → You delete entire chunks of the horde with every shot instead of overkilling one enemy at a time.
In my runs, one or two ricochet/piercing upgrades often felt stronger than several flat damage boosts, especially in the first biome. They scale automatically with enemy density – the more enemies on screen, the better they get.
Once you have pickup range + bounce/penetration, then you can look at:
Holy Shield in particular is worth grabbing whenever it appears – it converts one deadly mistake into a free learn-and-continue moment instead of a reset.
This is where I wasted a lot of time early on: trying to force long-range or niche weapons before I really understood enemy patterns.
Step → In your early hours, favor shotguns and Doomforged weapons.
Action → Pick close-range, wide-hit weapons and prioritize the Doomforged origin when you have a choice.
Result → You get reliable crowd-clear and well-rounded stats instead of fragile glass-cannon builds.
When I switched to shotgun-focused runs, my survival rate in the first few minutes jumped dramatically. It’s especially noticeable in tight areas or when enemies start surrounding you in arcs.
Weapons can belong to different origins, like:
Non-Doomforged origins usually boost one area while sacrificing another. That’s great when you’re optimizing specific builds, but brutal when you’re still learning patterns and biomes.
Doomforged weapons are balanced – no extreme weaknesses, no surprise stat holes. For early progression, that consistency is more valuable than a risky spike in one stat.
Rule of thumb: If you’re torn between a higher-risk origin and a Doomforged shotgun early on, pick the Doomforged shotgun until you’re comfortably reaching deeper waves.
My first mistake with the Forge was treating every weapon like a collectible. That clogged my inventory and starved my main weapon of upgrades.
Step → Use the Forge between runs to Infuse your main weapon and recycle the rest.
Action → Turn spare weapons into progress: Infuse for rarity, recycle for Ash, and sacrifice extras to level your favorite gun.
Result → Your “main” weapon becomes a monster much earlier in your progression, making each new run easier.
Beginner-friendly pattern:
Tip: Save more advanced “Reforge” style changes for later, when you have epics/legendaries with good base stats. Early on, it’s easy to waste resources fishing for perfect affixes on weak gear.
Even with the perfect weapon and upgrades, bad movement will still end your runs. For me, learning to move properly was as important as any build decision.
Step → Stay in constant motion and learn to kite, dash, and path toward altars.
Action → Move in loose circles or figure-eights, shoot while backing up, and use dash proactively to avoid getting boxed in.
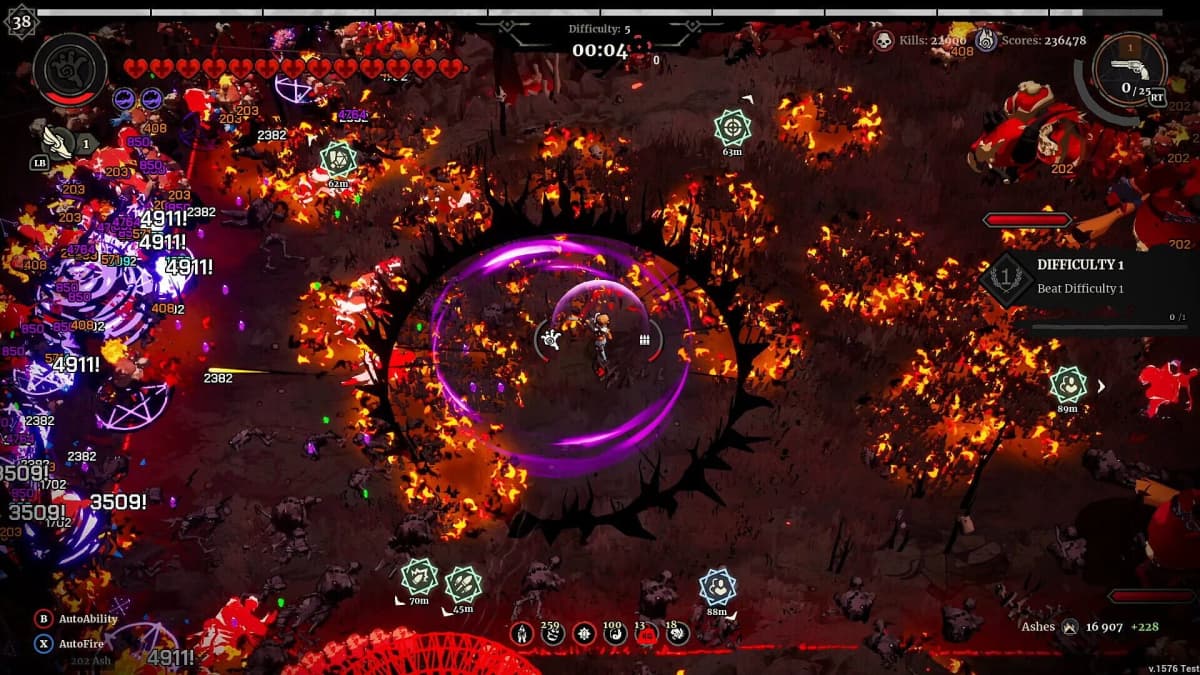
Result → You take far fewer hits, control the flow of enemies, and grab powerful altar buffs along the way.
During runs, altars spawn around the map and show up with direction markers. They’re basically mini power spikes, giving you extra buffs on top of your level-ups.
Whenever it’s even somewhat safe, path toward altars rather than wandering aimlessly. More altars = more buffs = more forgiving runs.
Rule of thumb: If you’re not currently in danger of being surrounded, start drifting toward the nearest altar while clearing enemies along the way.
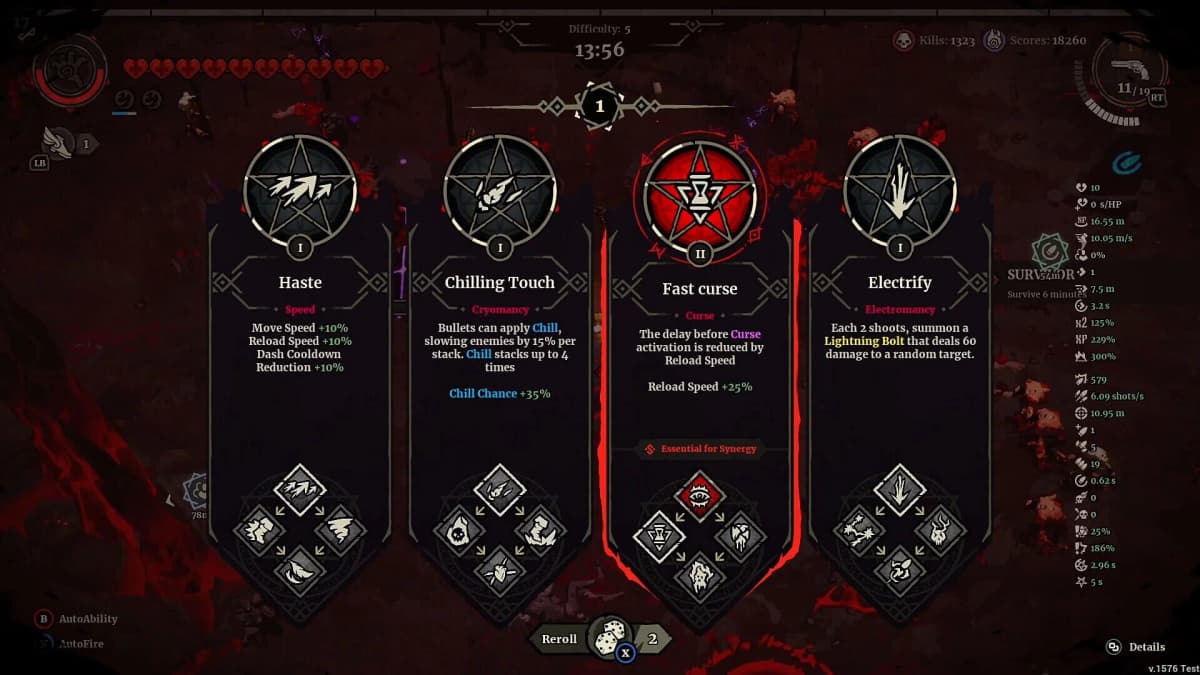
The skill tree in Grind Survivors is compact but powerful. There are three main paths, and where you invest early has a huge effect on how fast your account power grows.
Step → Invest in the Greed path first, then branch into Wrath and Pride.
Action → Spend early points on anything that increases XP gain, drops, or resource income, then layer on damage and cooldown nodes.
Result → Each new run starts stronger, levels faster, and reaches your “fun build” phase much sooner.
Once Greed is in a good spot, start investing in:
Think of it as building your economy (Greed) before your weapons factory (Wrath) and special tech (Pride).
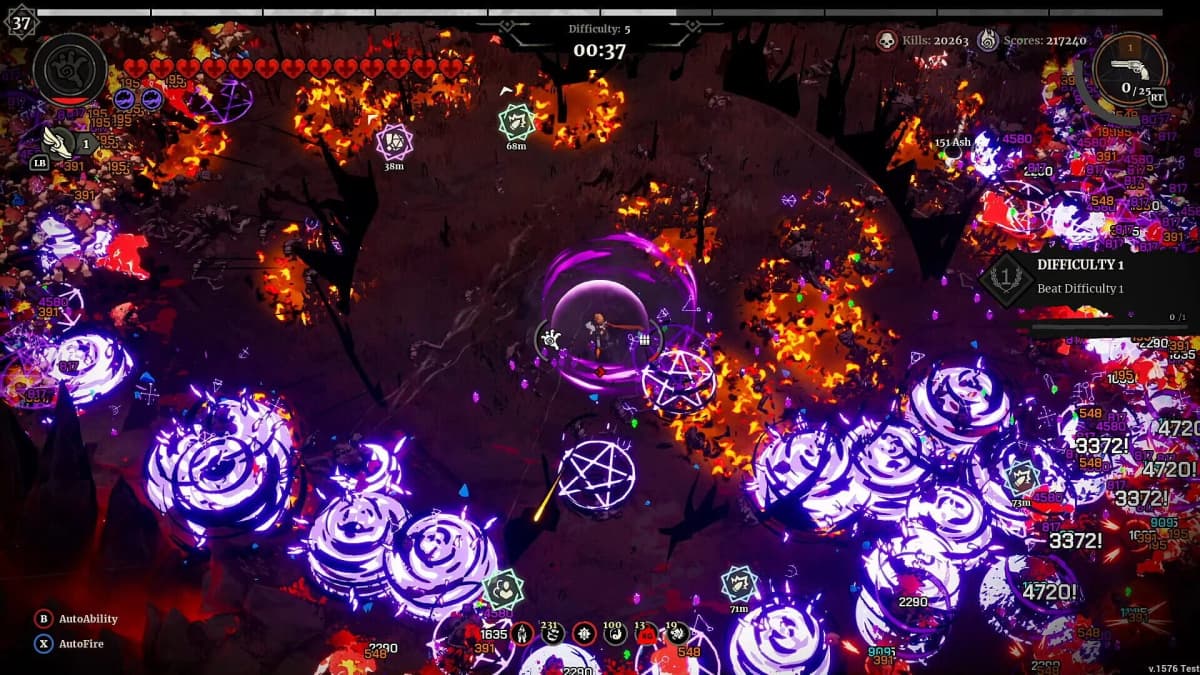
Every class has a main active ability – an ultimate-style move that either clears huge groups or delivers a massive finisher. I originally made the classic mistake of “saving it for the perfect moment” and dying with it off cooldown.
Step → Use your active ability aggressively and build towards cooldown reduction.
Action → Fire your ultimate whenever it’s useful, then take upgrades and skill tree nodes that shorten its cooldown.
Result → You turn a “panic button” into a regular part of your damage and survival loop.
In practice, this looks like:
You’ll know this is working when your ultimate is coming back up so often that you start using it proactively to farm, not just reactively to survive.
Avoiding just these few habits will make your runs immediately smoother.
By the time you’re consistently reaching these later waves, the basics in this guide will feel automatic – which is exactly the point. They free up mental space for deeper experimentation.
With these priorities locked in – pickup range, smart weapon and Forge choices, constant movement, and heavy cooldown investment – early runs in Grind Survivors stop feeling unfair and start feeling like a steady climb toward more powerful builds and higher difficulties.
Accédez à des stratégies exclusives, des astuces cachées et des analyses pro que nous ne partageons pas publiquement.
Guide stratégique ultime Actualité + Astuces pro hebdomadaires